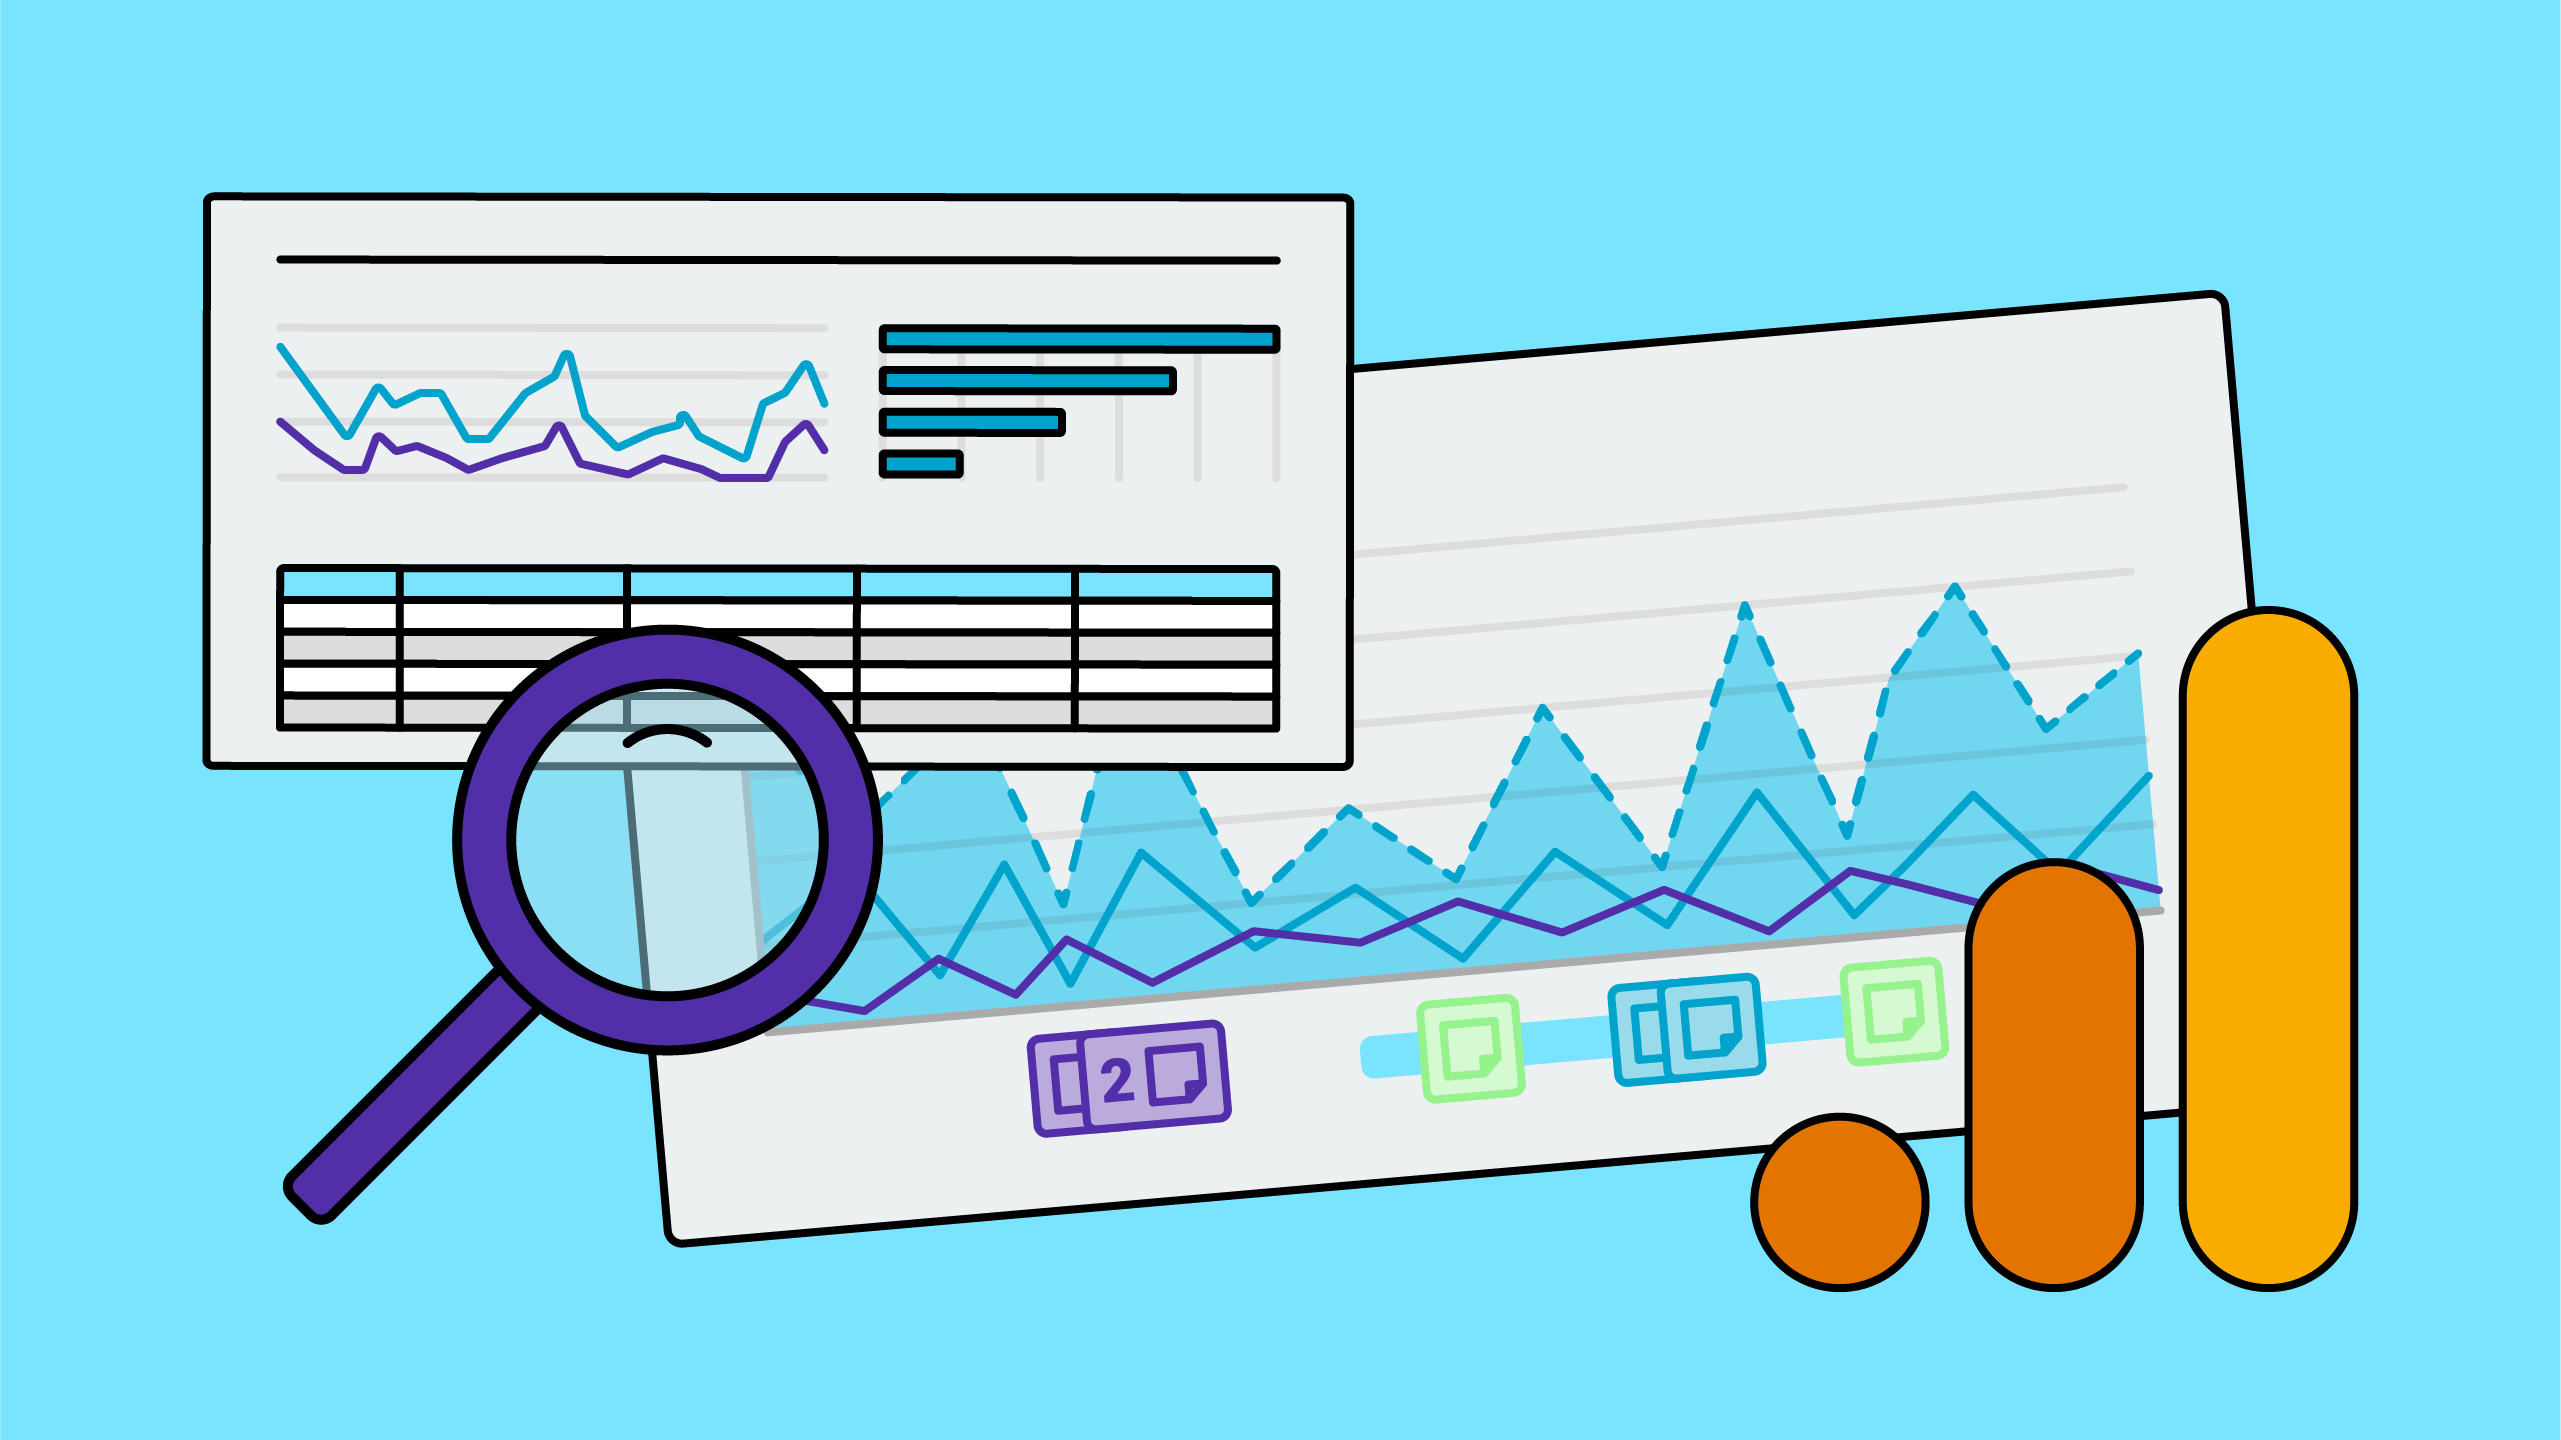
If someone asked you to prove that your blog content was resonating with your readers, what metrics would you look at? Page views? Engagement rate? Here’s the challenge I ran into years ago: neither of those metrics can tell you if anyone actually read your content. Content consumption measures whether a visitor actually read your content by combining two signals: dwell time (did they stay long enough to read it?) and scroll depth (did they reach the end?). If both conditions are met, the content was consumed.
I developed this metric because I kept having the same conversation with clients: “We have great traffic to our blog, but we have no idea if anyone’s reading it.” Page views confirm a page loaded. Engagement rate is only useful for landing pages. But neither answers the fundamental question: did they read it?
In this post, I’ll walk you through why GA4’s built-in metrics fall short for evaluating content success, how content consumption measurement works, and how to set it up on your own site.
Watch the Explainer Video
Why Page Views and Engagement Rate Can't Measure Content Performance
Let’s look at what most marketing analytics tools can tell you by default, because understanding their limitations helps explain why I built something different.
Page Views record that a page loaded. That’s it. A page view doesn’t tell you if the visitor saw any of the content, how long they stayed, or whether they scrolled past the first paragraph. I’ve seen blog posts with thousands of page views where the average time on page suggested most people left within seconds. The page views looked impressive in reports, but the content wasn’t doing its job.
Engagement Rate is a GA4-specific metric and is more nuanced, but it still doesn’t answer the question we’re asking in this post: was it read? GA4 records a session as engaged if any one of these things happened: the visitor spent at least 10 seconds with your site as the active tab, they visited a second page, or they converted. However, engagement rate is a session-level metric, not a page-level one. It can’t tell you whether someone engaged with a specific piece of content.
So while page views and engagement rate have their place for understanding overall traffic patterns, they leave a significant gap when you’re trying to measure content performance. I ran into this problem enough times that I decided to build a solution.
What Is Content Consumption? Combining Scroll Depth and Dwell Time
Content consumption combines two behavioral signals to determine whether someone actually read your content:
Dwell time: Did they stay on the page long enough to read it? The measurement counts the words in your content area and calculates how long it would take to read at a reasonable pace. If the visitor stays at least that long, the dwell condition is met.
Scroll depth: Did they reach the end of the content? Not the footer or the sidebar—the actual end of the content they came to read. If they scrolled to that point, the scroll condition is met.
If both conditions are met on the same page view, that content was consumed. Great! But we can take this one step further. By tracking these two signals separately, you can diagnose why content isn’t being consumed.
The Four Content Consumption Behaviors
When I analyze content consumption data, I look at which combination of signals were recorded. This reveals four distinct behavior patterns:
- Consumers — Stayed long enough AND scrolled to the end. They read your content. This is the outcome you want.
- Skimmers — Scrolled to the end but weren’t there long enough to actually read it. They scanned the content quickly, probably looking for a specific answer or deciding if it was worth their time.
- Tab Collectors — Stayed long enough but didn’t scroll to the end. They opened your content, maybe got distracted, and never finished. (You know who you are.)
- Bouncers — Neither stayed nor scrolled. Perhaps the content wasn’t what they expected.
This framework helps you better understand your website visitors. For example, if you have a lot of Tab Collectors, your content is being saved but not actually read. This might not be a bad thing, if people return to the content later. For example, Analytics Playbook has a lot of Tab Collectors and I’m okay with that!
How Content Consumption Tracking Works
Let’s walk through the mechanics so you understand what’s happening behind the scenes.
When your page loads, the content consumption code counts the words in your designated content area. Based on a reading speed setting (which you can adjust), it calculates how long someone would need to read that content.
The script starts a timer. When that timer hits the calculated reading time, it records a content_dwell event. Simultaneously, the script tracks scroll depth. When the visitor reaches your designated end-of-content element, it records a content_scroll event.
If both content_dwell AND content_scroll are recorded during the same page view, a third event is recorded: content_consumed.
Breaking up these thresholds into separate events means that you get granular data. You can see not just how many people consumed content, but how many achieved dwell time without scrolling, or scrolled without sufficient dwell time.
How to Set Up Content Consumption Tracking
I’ve put together two implementation paths depending on your platform. The measurement works identically either way.
If you’re on WordPress: My team at Kick Point and I have created a plugin that handles the content detection automatically. You’ll still need to import the pre-build GTM tags and triggers to record the information and send it off to GA4 (assuming you use GTM/GA4).
If you’re on any other platform (Webflow, Craft, Wix, Squarespace, Drupal, etc): I’ve put together a GTM-only approach. This method takes what’s in the WordPress plugin and moves it into GTM for implementation.
Let’s walk through both options.
Measuring Content Consumption on WordPress
Step 1: Install the Plugin
Download the WordPress plugin and upload it via Plugins > Add New > Upload Plugin. Once activated, you’ll see a new “Content Consumption” option in your sidebar.
Step 2: Configure Your Content Areas
The plugin needs to know two things for each content type (posts, pages, custom post types):
- Content Container: The CSS selector that wraps your main content
- Content End Element: What appears at the very end of your content
To find these selectors, right-click on your content area in Chrome, select “Inspect,” and look for the class or ID in the highlighted HTML. For example, on many themes the content container has a class like .entry-content and the content end might be #comments or a specific div at the bottom of your post. I’ve posted a walkthrough video below so you can see how this works.
Step 3: Import the GTM Container
Download this GTM container, then import it:
- In Google Tag Manager, click Admin > Import Container
- Choose the JSON file you downloaded
- Select your workspace (if you’re not sure, use Default Workspace)
- Select Merge and Rename conflicting tags, triggers, and variables
- Click Add to Workspace
Step 4: Update Your GA4 Measurement ID
The container includes three GA4 event tags that need your Measurement ID. Open each tag and add your Measurement ID or the variable you are using for your Measurement ID.
Step 5: Preview and Test
Use GTM’s Preview mode to verify the events are firing correctly. Visit a content page, scroll to the bottom, and wait long enough to trigger the dwell event. You should see content_scroll, content_dwell, and content_consumed events appear in the preview panel.
If you don’t see this show up, make sure to clear your website cache, then try again.
Step 6: Publish
If everything looks good, publish your GTM container, then go to the Adding Custom Metrics section.
Measuring Content Consumption on Any Website
For non-WordPress sites, we can run all the content consumption code via GTM.
Step 1: Import the GTM Container
Download this GTM container, then import it:
- In Google Tag Manager, click Admin > Import Container
- Choose the JSON file you downloaded
- Select your workspace (if you’re not sure, use Default Workspace)
- Select Merge and Rename conflicting tags, triggers, and variables
- Click Add to Workspace
Step 2: Configure the Lookup Variables
This is the key difference from the WordPress setup. The container includes two lookup variables that map your page templates to the correct CSS selectors:
- “Lookup – CC content container”
- “Lookup – CC content end element”
You’ll populate these lookup tables to tell the content consumption code where you want it to trigger, and what it should look for on those designated pages.
You’ll need to inspect your site’s HTML to identify the right body classes and corresponding content selectors. I’ve recorded a walkthrough of me going through this process on a couple of different websites so you can see how it works:
This takes some investigation, but once you’ve mapped your templates, the configuration is complete.
If you don’t want to track certain page types, adjust the trigger to not run on those pages. For example, here is a trigger modified to run on any page that starts with /resources/ but not the actual /resources/ page itself.

Step 3: Update Your GA4 Measurement ID
The container includes three GA4 event tags that need your Measurement ID. Open each tag and add your Measurement ID or the variable you are using for your Measurement ID.
Step 4: Preview and Test
Use GTM Preview mode to verify events are firing. The container includes a debug option that shows additional information in your browser’s DevTools console, which can help troubleshoot if things aren’t working as expected.
You can also use GA4’s DebugView (Admin > DebugView) to watch events arrive in real-time.
Step 5: Publish
Once testing confirms everything is working, publish your container.
Adding Custom Metrics to GA4 for Content Consumption
The events will arrive in GA4, but to use them effectively in reports, you’ll want to register them as custom metrics. This step makes the data available in GA4’s report builder and Looker Studio.
In GA4, go to Admin > Custom Definitions > Custom Metrics > Create Custom Metric.
Create these three metrics:
Consumptions
- Metric Name: Consumptions
- Event Parameter: content_consumed_count
- Unit: Standard
Dwells
- Metric Name: Dwells
- Event Parameter: content_dwell_count
- Unit: Standard
Scrolls
- Metric Name: Scrolls
- Event Parameter: content_scroll_count
- Unit: Standard
Once you’ve created these, they’ll be available in any GA4 report or exploration.
Calculating Content Consumption Rate in GA4
If you want to go further, you can create a calculated metric that shows consumption rate, which is how often content was consumed per page view.
Go to Admin > Custom Definitions > Calculated Metrics > Create Calculated Metric.
Enter these values:
- Name: Content Consumption Rate
- Formula: {content_consumed_count}/{Views}
- Unit: Standard
One thing to keep in mind: calculated metrics work retroactively on your data, but the custom metrics they rely on only collect data from when you created them. So if you just set this up, your consumption rate might look odd initially until you have enough data flowing in.
Using Content Consumption Data to Improve Your Content
Now that you’re collecting the data, let’s look at how to put it to work.
Content Consumption Overview
You can use a table in Looker Studio, a custom report in GA4, a free-form exploration in GA4, or whatever system makes the most sense for you. Use these dimensions and metrics:
- Dimension: Page path
- Metrics: Views, Dwells, Scrolls, Consumptions (+ your custom metric if you created it)
This gives you a content-by-content breakdown of what’s actually getting read. Sort by Views descending to see your highest-traffic content, then look at the consumption numbers. A page with 5,000 views but only 200 consumptions tells a very different story than one with 2,000 views and 1,500 consumptions.
Create Audiences for Deeper Analysis
One powerful application is building GA4 audiences based on content consumption. For example, create an audience of users who consumed content on their first visit:
- Include users where the content_consumed event was recorded
- AND ga_session_number = 1

Then you can analyze whether first-visit consumers convert at higher rates, or whether they’re more likely to return. Keep in mind that audiences don’t populate retroactively. Make sure to set them up early so the data accumulates, or use this configuration in a GA4 exploration segment to see the past data.
In Other Reporting Tools
If you’re building content performance dashboards, create a calculated field for consumption rate (consumptions ÷ views) and format it as a percentage. This lets you compare content pieces fairly regardless of traffic volume.
Questions This Data Can Answer
- Which content pieces are people actually reading versus just loading?
- Are Tab Collectors eventually converting on a longer timeline?
- Is that high-traffic page genuinely valuable, or is everyone bouncing?
- Which content topics have the highest consumption rates?
- Does consumption correlate with conversions?
To make sure you can trust what you’re seeing, you might want to audit your GA4 setup to check that everything is configured correctly.
Frequently Asked Questions
Content consumption measures whether a visitor actually read your content by combining two signals: dwell time (did they stay long enough to read it?) and scroll depth (did they reach the end of the content?). If both conditions are met, the content was consumed.
Scroll depth tracking alone only tells you that someone scrolled—it doesn’t account for reading time. A visitor could scroll to the bottom of an article in three seconds without reading a word. Content consumption requires both scrolling AND sufficient time on page, which gives you a much more accurate picture of actual reading behavior.
GA4’s engagement rate is a session-level metric that fires when someone spends 10+ seconds on site, visits a second page, or converts. It doesn’t apply to individual pages or content pieces. Content consumption is page-specific—it tells you whether someone read that particular piece of content.
Page views only confirm the page loaded. To know if people actually read your posts, you need to measure both how long they stayed and whether they scrolled through the content. Content consumption tracking gives you this insight, plus it diagnoses why people aren’t reading—whether they’re skimming, getting distracted, or bouncing immediately.
Next Steps
This setup takes some initial configuration work, but the insight you get is worth it. You’ll finally be able to answer the question that page views never could: is anyone actually reading this?
Start with your highest-traffic content pieces to see quick results. And if you made it to the end of this post, I’m hoping you’ve been here long enough to have actually consumed this content.
Have questions about content consumption or want to share what you discovered? Check out my YouTube video where I walk through the configuration in detail and drop your questions in the comments!

Dana enjoys solving problems that haven’t been solved before. With her 20+ years experience in digital marketing and teaching, she has a knack for distilling complex topics into engaging and easy to understand instruction. You’ll find Dana sharing her knowledge at digital marketing conferences around the world, teaching courses, and hosting a technology column.
Learn more about Dana